Midjourney For Beginners: Your First Images, Step By Step
The short version
- Midjourney makes striking images from a text description. Most people now use it on the website instead of Discord.
- It’s a paid tool. Free trials come and go, so plan on a subscription if you want to use it for real.
- Each prompt gives you a grid of four images. You then vary, upscale, or edit the one you like best.
- Set the aspect ratio before you start, keep prompts short, and change one thing at a time.
- Check the usage terms for your plan before you put an image in client or paid work.
This guide to Midjourney for beginners takes you from signing up to your first finished image in one sitting. Midjourney is an AI image tool known for a polished, artistic look, and the basics take about twenty minutes to learn. What takes longer is learning to steer it, so this post focuses on the buttons and habits that give you control early.
Get Set Up
- Go to midjourney.com and sign in. You can use a Google or Discord account.
- Pick a subscription. Lower plans give you a set amount of fast image time each month. Some plans add a relaxed mode that’s slower but lets you keep going.
- Open the Create page. This is your workspace. The box at the top is where you type prompts.
- Open the settings panel next to the prompt box before your first image. You’ll come back to it often.
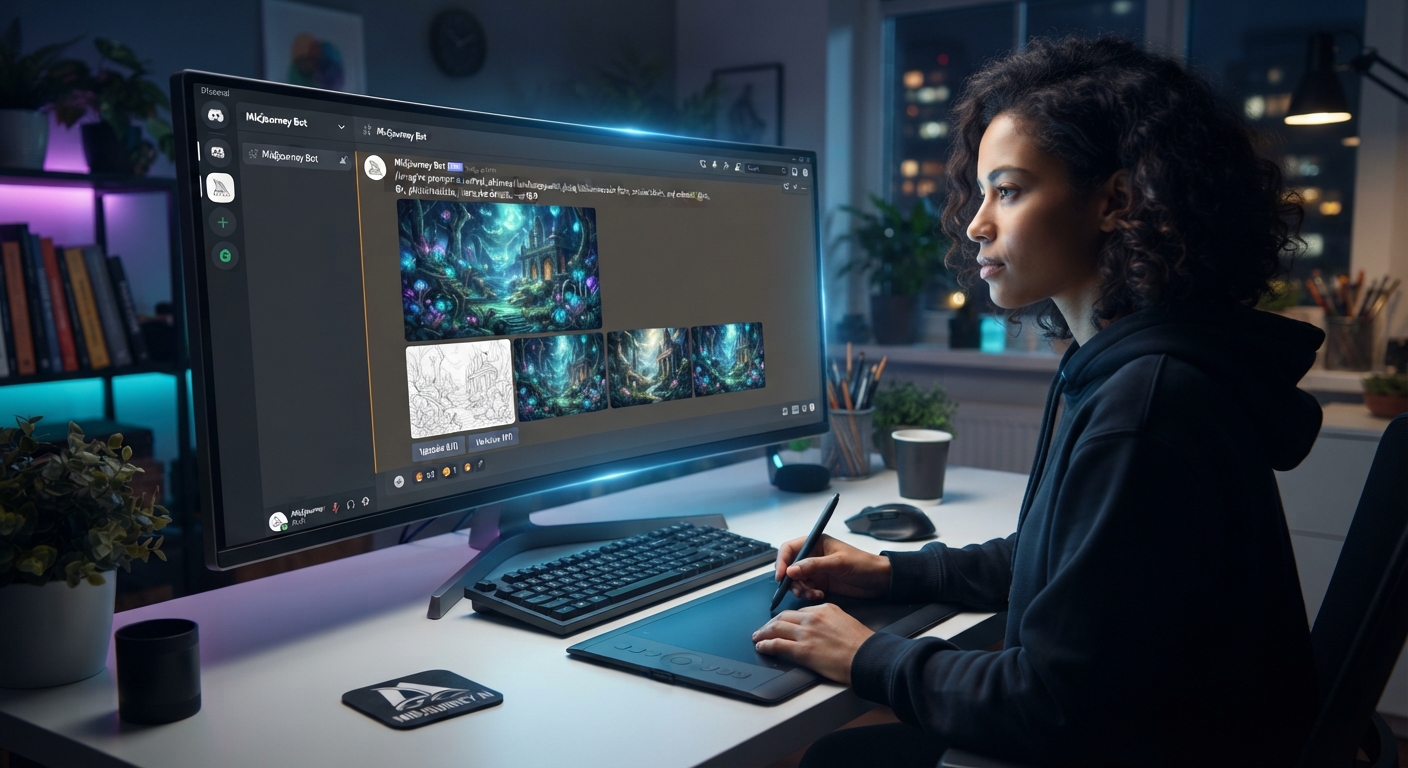
You can still use Midjourney in Discord by typing /imagine in a channel, but the website is easier to learn and keeps your images organized.
Know who can see your images
On many plans, the images you make show up in Midjourney’s public gallery. Some higher plans offer a private or stealth option. If you’re creating mockups for a client or anything confidential, check your plan’s privacy settings first.
Make Your First Image
Type a plain description. Start with the subject, then the setting, then the style or mood.
“a ceramic coffee mug on a wooden kitchen table, morning window light, soft shadows, lifestyle product photo”
Press enter. In under a minute you’ll see a grid of four images. Each one is a different take on your words. Click any image to open it larger and see your options.
The Buttons That Matter
When you open an image, you’ll see a set of actions. These are the ones beginners need:
- Vary (Subtle). Makes four close cousins of the image. Use it when you like it and want small changes.
- Vary (Strong). Keeps the idea, changes more. Use it when the concept works but the look doesn’t.
- Upscale. Makes a larger, sharper version for download. The subtle option keeps it faithful. The creative one adds detail.
- Rerun. Runs the same prompt again for four fresh options.
- Pan and Zoom. Extends the image outward so you get more background, useful for fitting a banner or a slide.
- Editor. Lets you select part of the image and describe a change to just that area, such as swapping the mug color.
The best advice in any guide to Midjourney for beginners is to learn these actions before you learn fancy prompts. Once you get the hang of them, you’ll spend less time retyping and more time refining one good result.
Settings To Change Before You Start
The settings panel controls the shape and feel of every image. Four settings do most of the work:
- Aspect ratio. Square works for social posts. Pick a wide ratio like 16:9 for slides and website headers, or a tall one like 4:5 or 9:16 for phone screens and stories. Set this first, because cropping later wastes the edges.
- Stylization. Low values follow your words closely. High values let Midjourney add its own artistic flair. For product and business images, keep it low to medium.
- Variety or chaos. Raises how different the four grid images are from each other. Turn it up when you’re exploring ideas.
- Raw mode. Gives a more literal, less stylized look. Good for realistic photos.
Midjourney For Beginners: A First Project
Try this now. Say you need a header image for a blog post about spring gardening, sized for a website.
- Set the aspect ratio to 16:9 and stylization to a low-medium level.
- Prompt: “raised garden beds with young lettuce and herbs, backyard, early spring morning, natural light, shallow depth of field, realistic photo”
- Pick the best of four. If none work, change one phrase, such as “overcast light”, and run it again.
- Use Vary (Subtle) on your favorite to get a cleaner version.
- Use the Editor to fix any odd details, like a warped fence post.
- Upscale and download.
That’s the full loop. Once it feels natural, move on to better wording and parameters in our graphic design for beginners guide, which also covers adding text and layout in other tools.
Mistakes New Users Make
- Writing an essay. Long prompts confuse it. Aim for one or two lines.
- Asking for text in the image. Short words sometimes work. Longer text often comes out garbled. Add text later in a design tool.
- Changing five things at once. You won’t know what worked. Change one word or one setting per run.
- Burning fast time on exploring. Use relaxed mode, if your plan has it, for rough ideas.
- Trusting hands, faces, and logos. Zoom in. Extra fingers and warped letters still show up.
Midjourney is one of several image tools. If you mostly need quick graphics with text, a chat tool with image features may suit you better. Which AI tool should I use compares the options. And for anything you sell or publish, read the terms for your plan so you know your rights to the images.
Go From First Image To Reliable Results
AI For Getting The Most From Midjourney picks up where this post ends: prompt structure, style and character references, consistent looks across a set of images, and a prompt pack for common business uses. Everything is explained in plain English with a worked example.